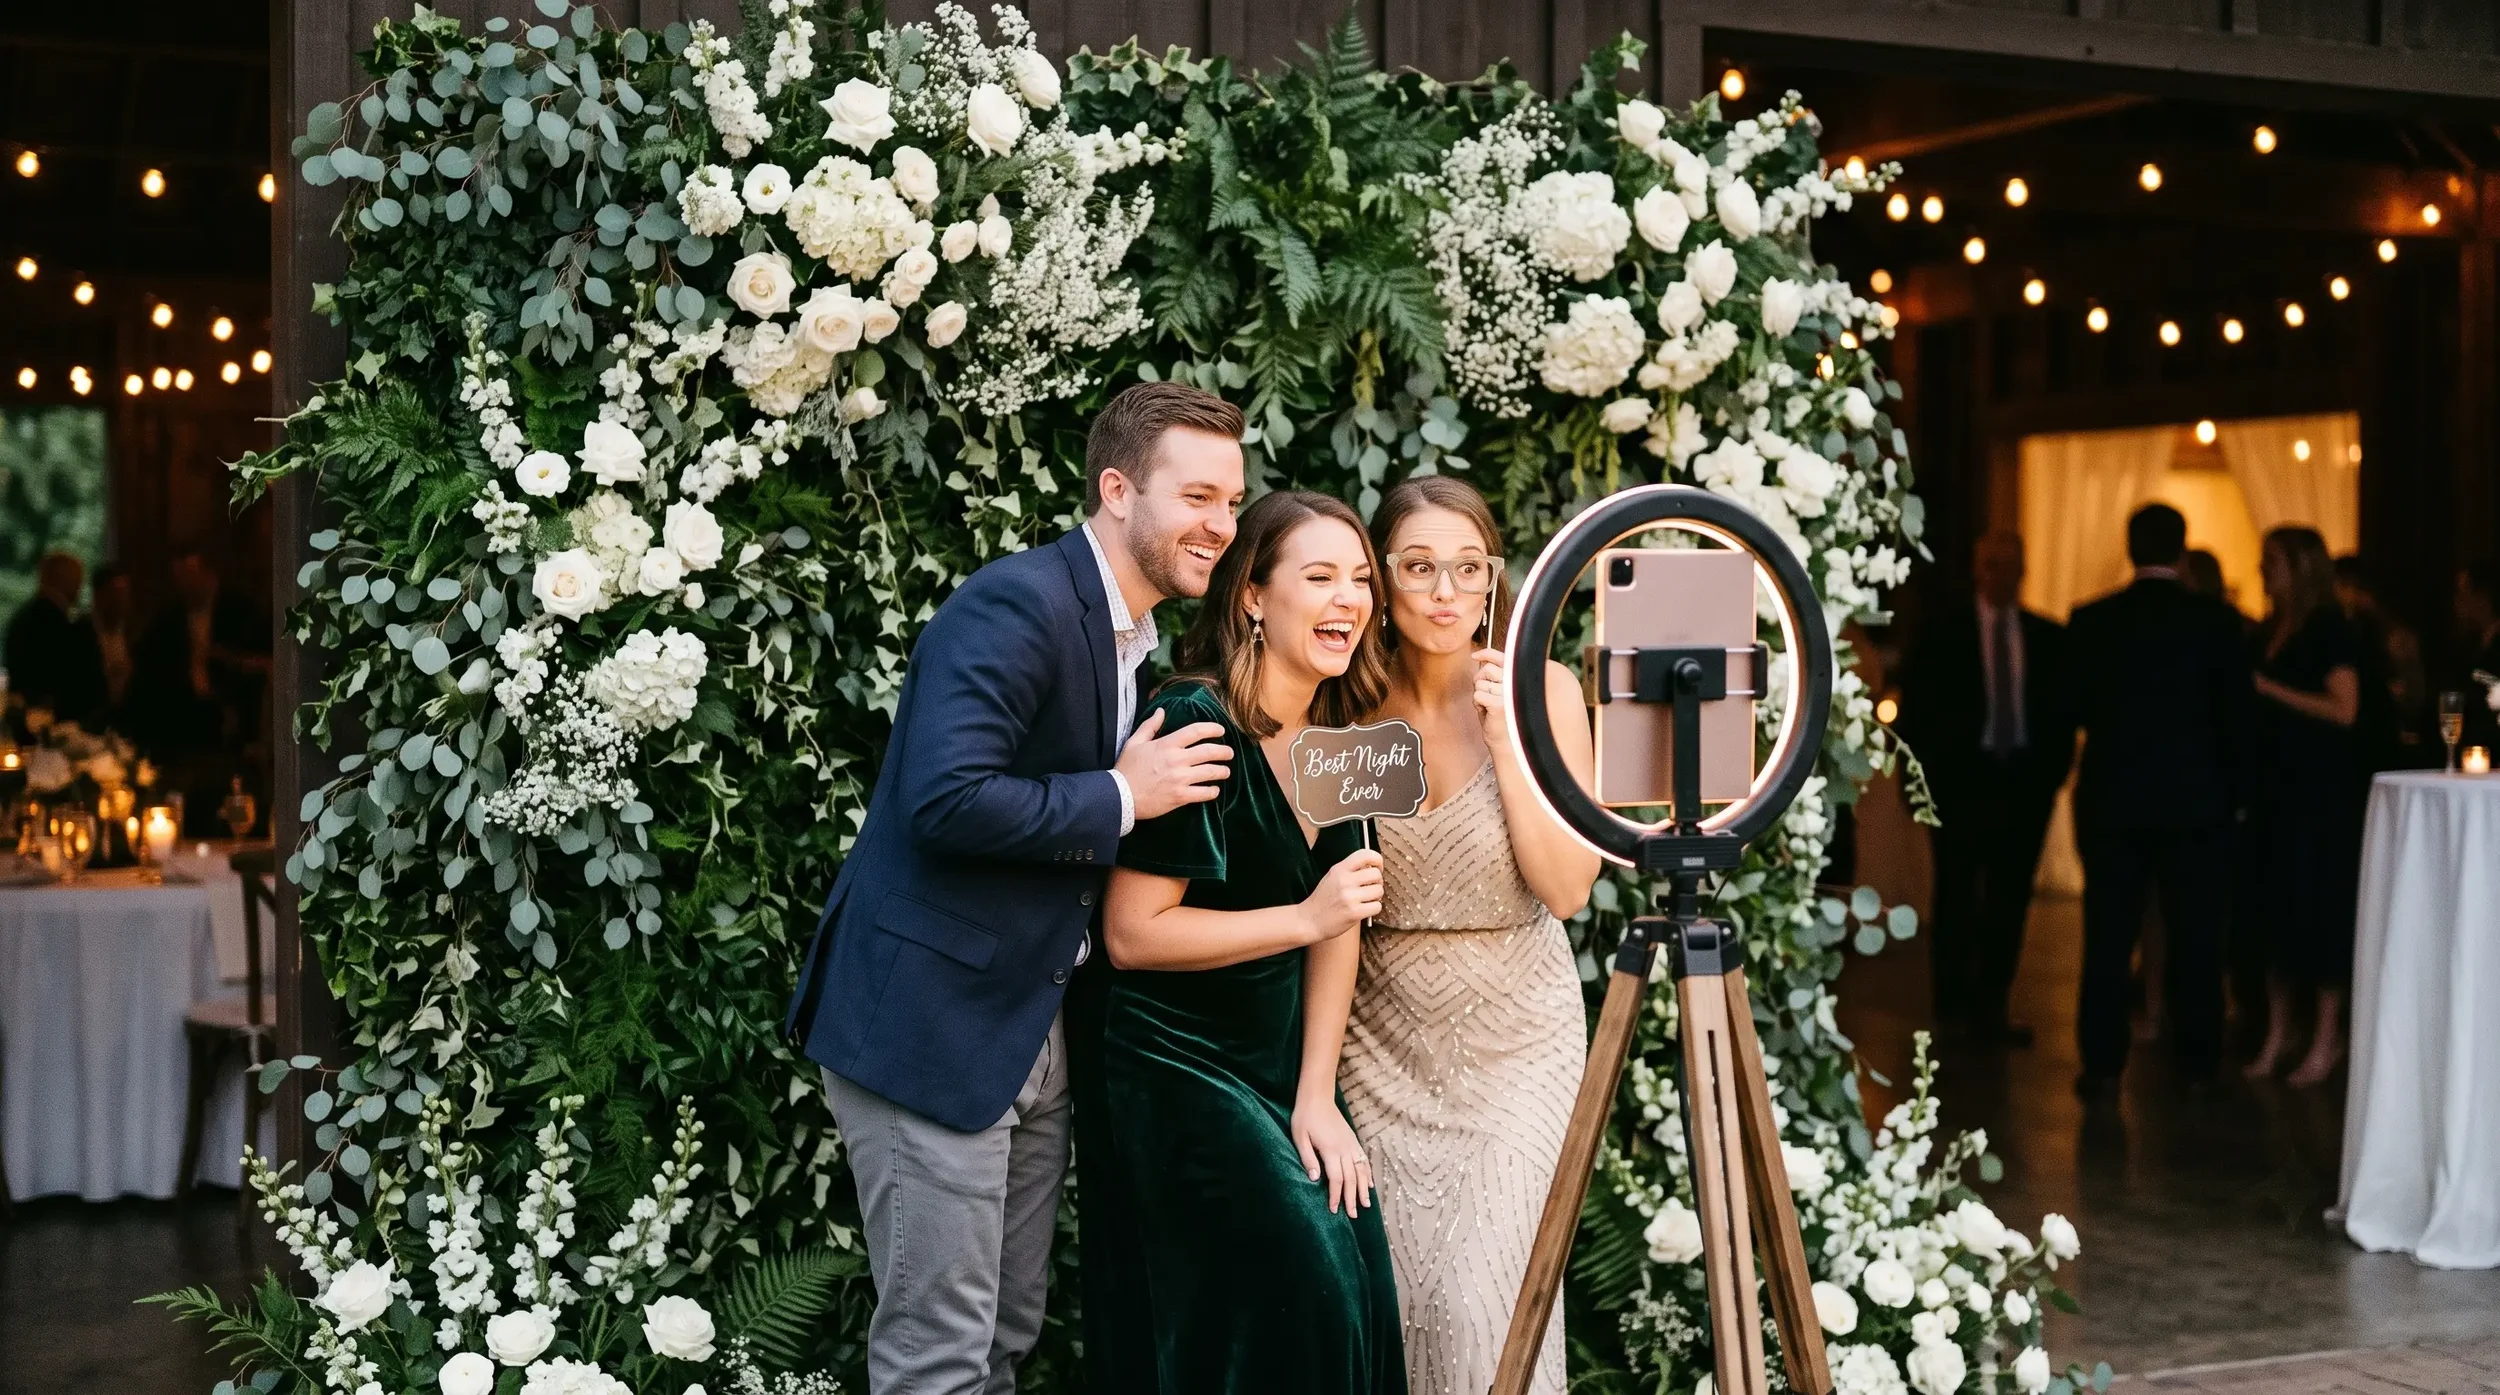
A backdrop can look flawless in an empty room and fall apart the moment four guests step into the frame. A stand creeps into one edge, the couple's names disappear behind someone's head, and the prop table pushes the line straight into the catering route.
The fix is to stop treating the backdrop as decoration and start treating it as part of a working zone. A great iPad photo booth is really three connected footprints: what the camera sees, what the equipment occupies, and where guests approach, wait, pose, and leave. Plan all three together and the booth photographs beautifully and runs smoothly all night. Here's how to design each one — frame first, light second, then the full guest route.
Design the Camera Frame Before You Choose the Backdrop
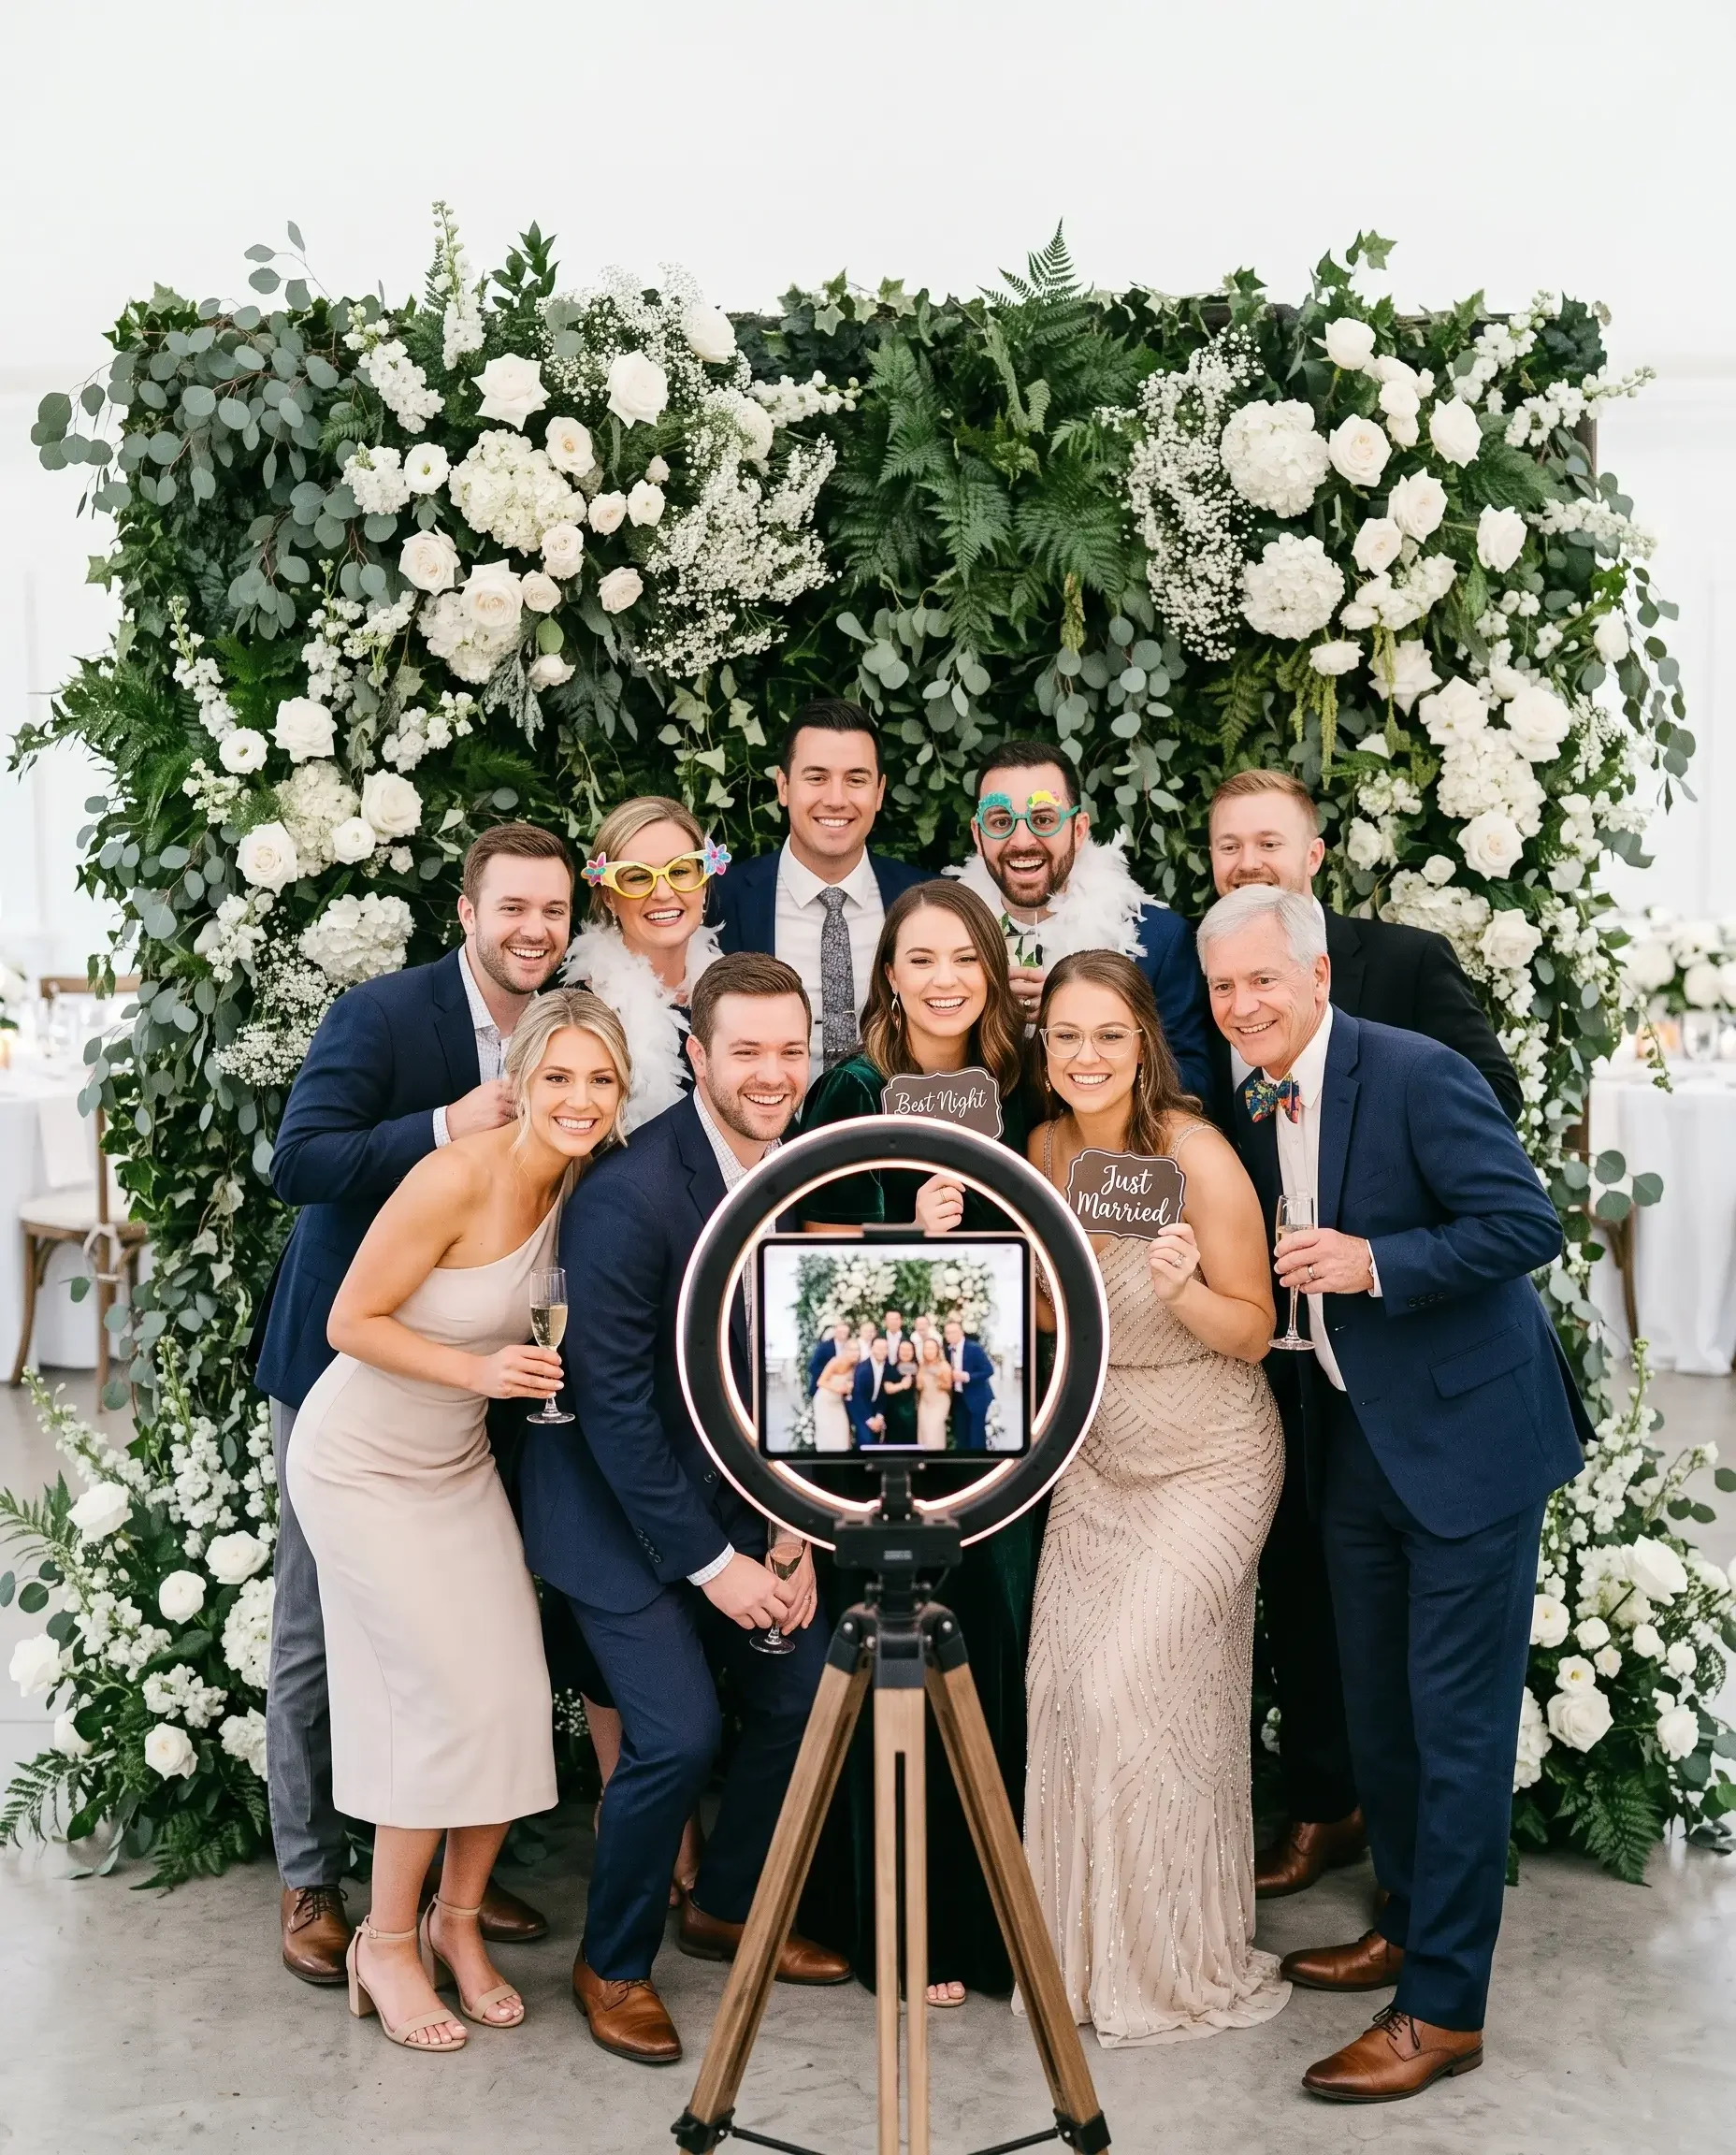
Start with the photograph you want: a close portrait, a three-quarter view, or a full-length shot. Then ask how large your biggest expected group will be — including children, different heights, and seated and standing guests. A backdrop chosen for two people may not cover the frame once a larger family leans in or raises props.
Measure with the exact iPad, app, orientation, template, and mounting height you'll use at the wedding. Mark the device position and a proposed pose line on the floor, then test three groups: one person, your largest expected group, and a mixed seated-and-standing group. Ask them to turn, lean together, and hold props naturally, and check the sides and lower edge of the frame for venue walls, flooring seams, and backdrop hardware.
Run that same test before you place names, dates, neon signs, or a focal floral arrangement. The space left clear by heads and raised props is your dependable artwork area. If the hardware is still undecided, compare the iPad booth models currently offered by Smart 360 before you fix the equipment footprint, and confirm the chosen model's stand dimensions, lighting arrangement, device compatibility, power needs, and included hardware before approving the floor plan.
Test the Light With People, Fabric, and Reception Conditions
A reception room can look bright and still produce dim, uneven iPad photos. Re-create the conditions you'll actually have while the booth is open: house lights at their reception setting, nearby windows, stage or DJ lighting, and the booth light itself. A window-facing spot may need a second test when the daylight matches event time.
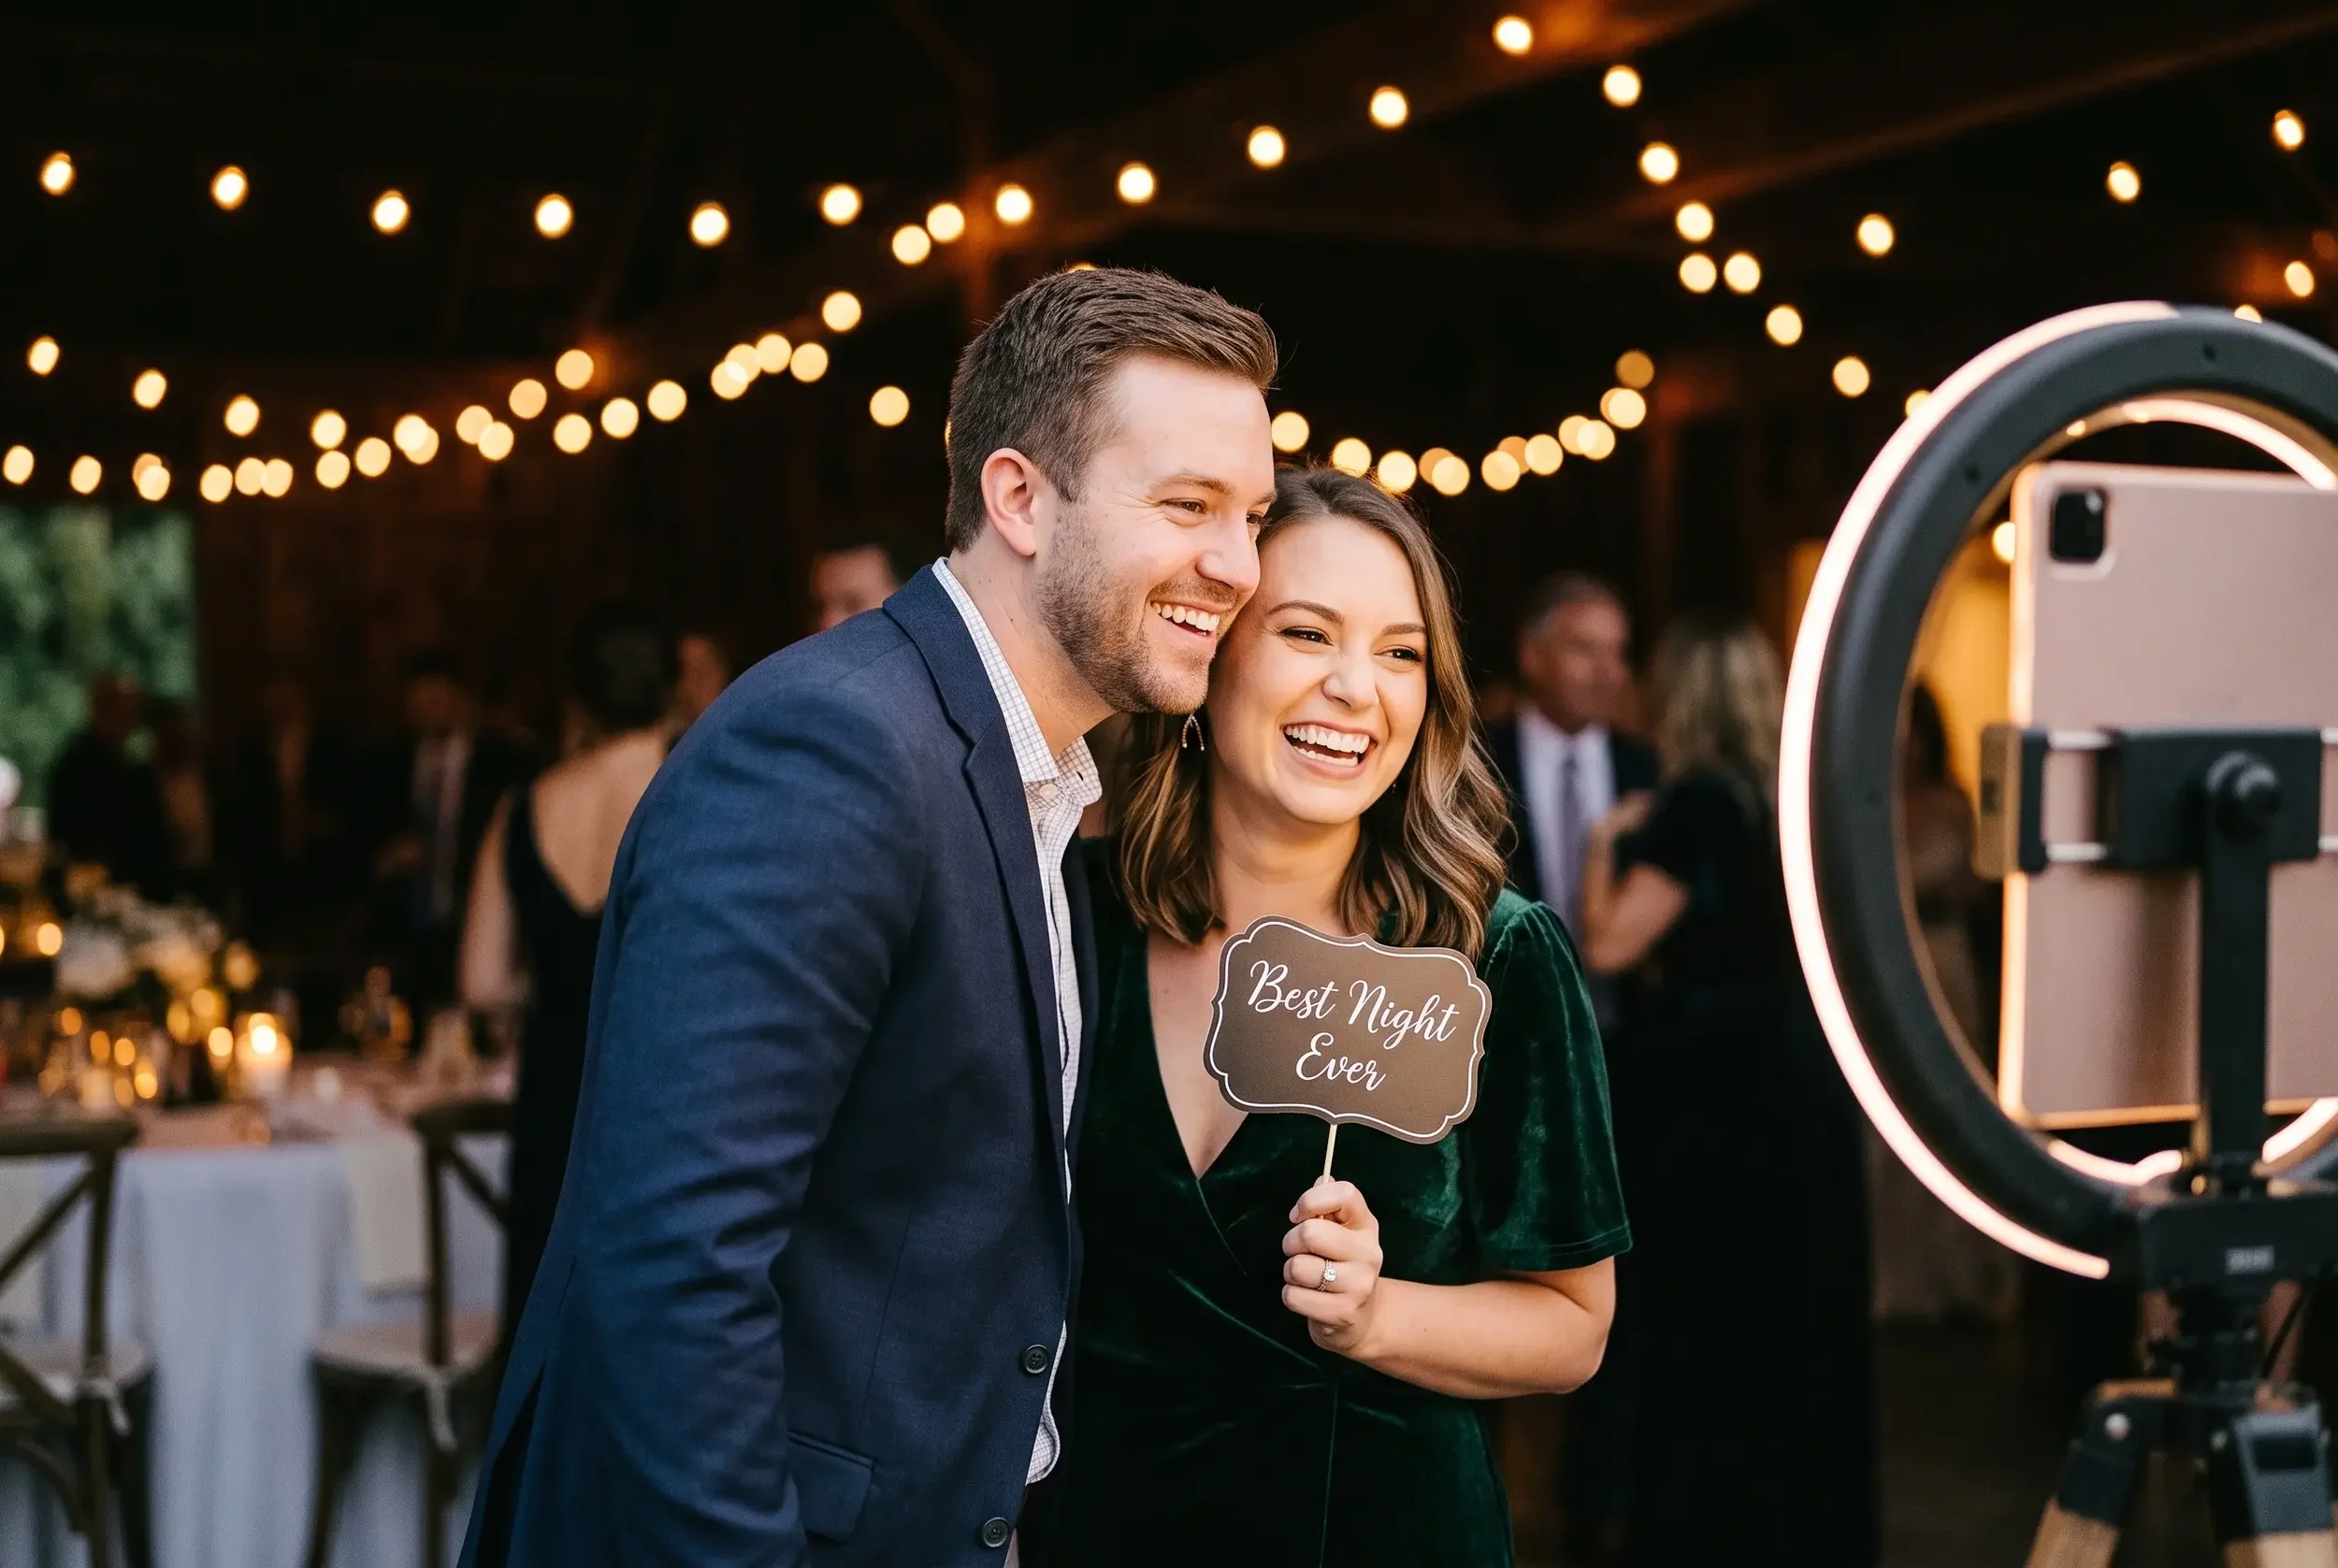
Photograph one person and your largest group, and when you can, include a range of skin tones, glasses, dark and light clothing, and satin, sequins, or a metallic prop. Watch for reflections in lenses, shadows under eyes and chins, bright hot spots on the backdrop, and guests at the edge of the group going noticeably darker. A soft light near the camera axis and slightly above eye level is a useful starting point — but treat it as a test position, not a rule for every venue.
If faces are shadowed or reflective details wash out, change the angle or softness of the light. When space allows, adjust the distance between guests and the backdrop, then reframe. Above all, judge the saved image from the booth app — not the mood of the room or the live preview.
Turn the Booth Into a One-Way Guest Loop
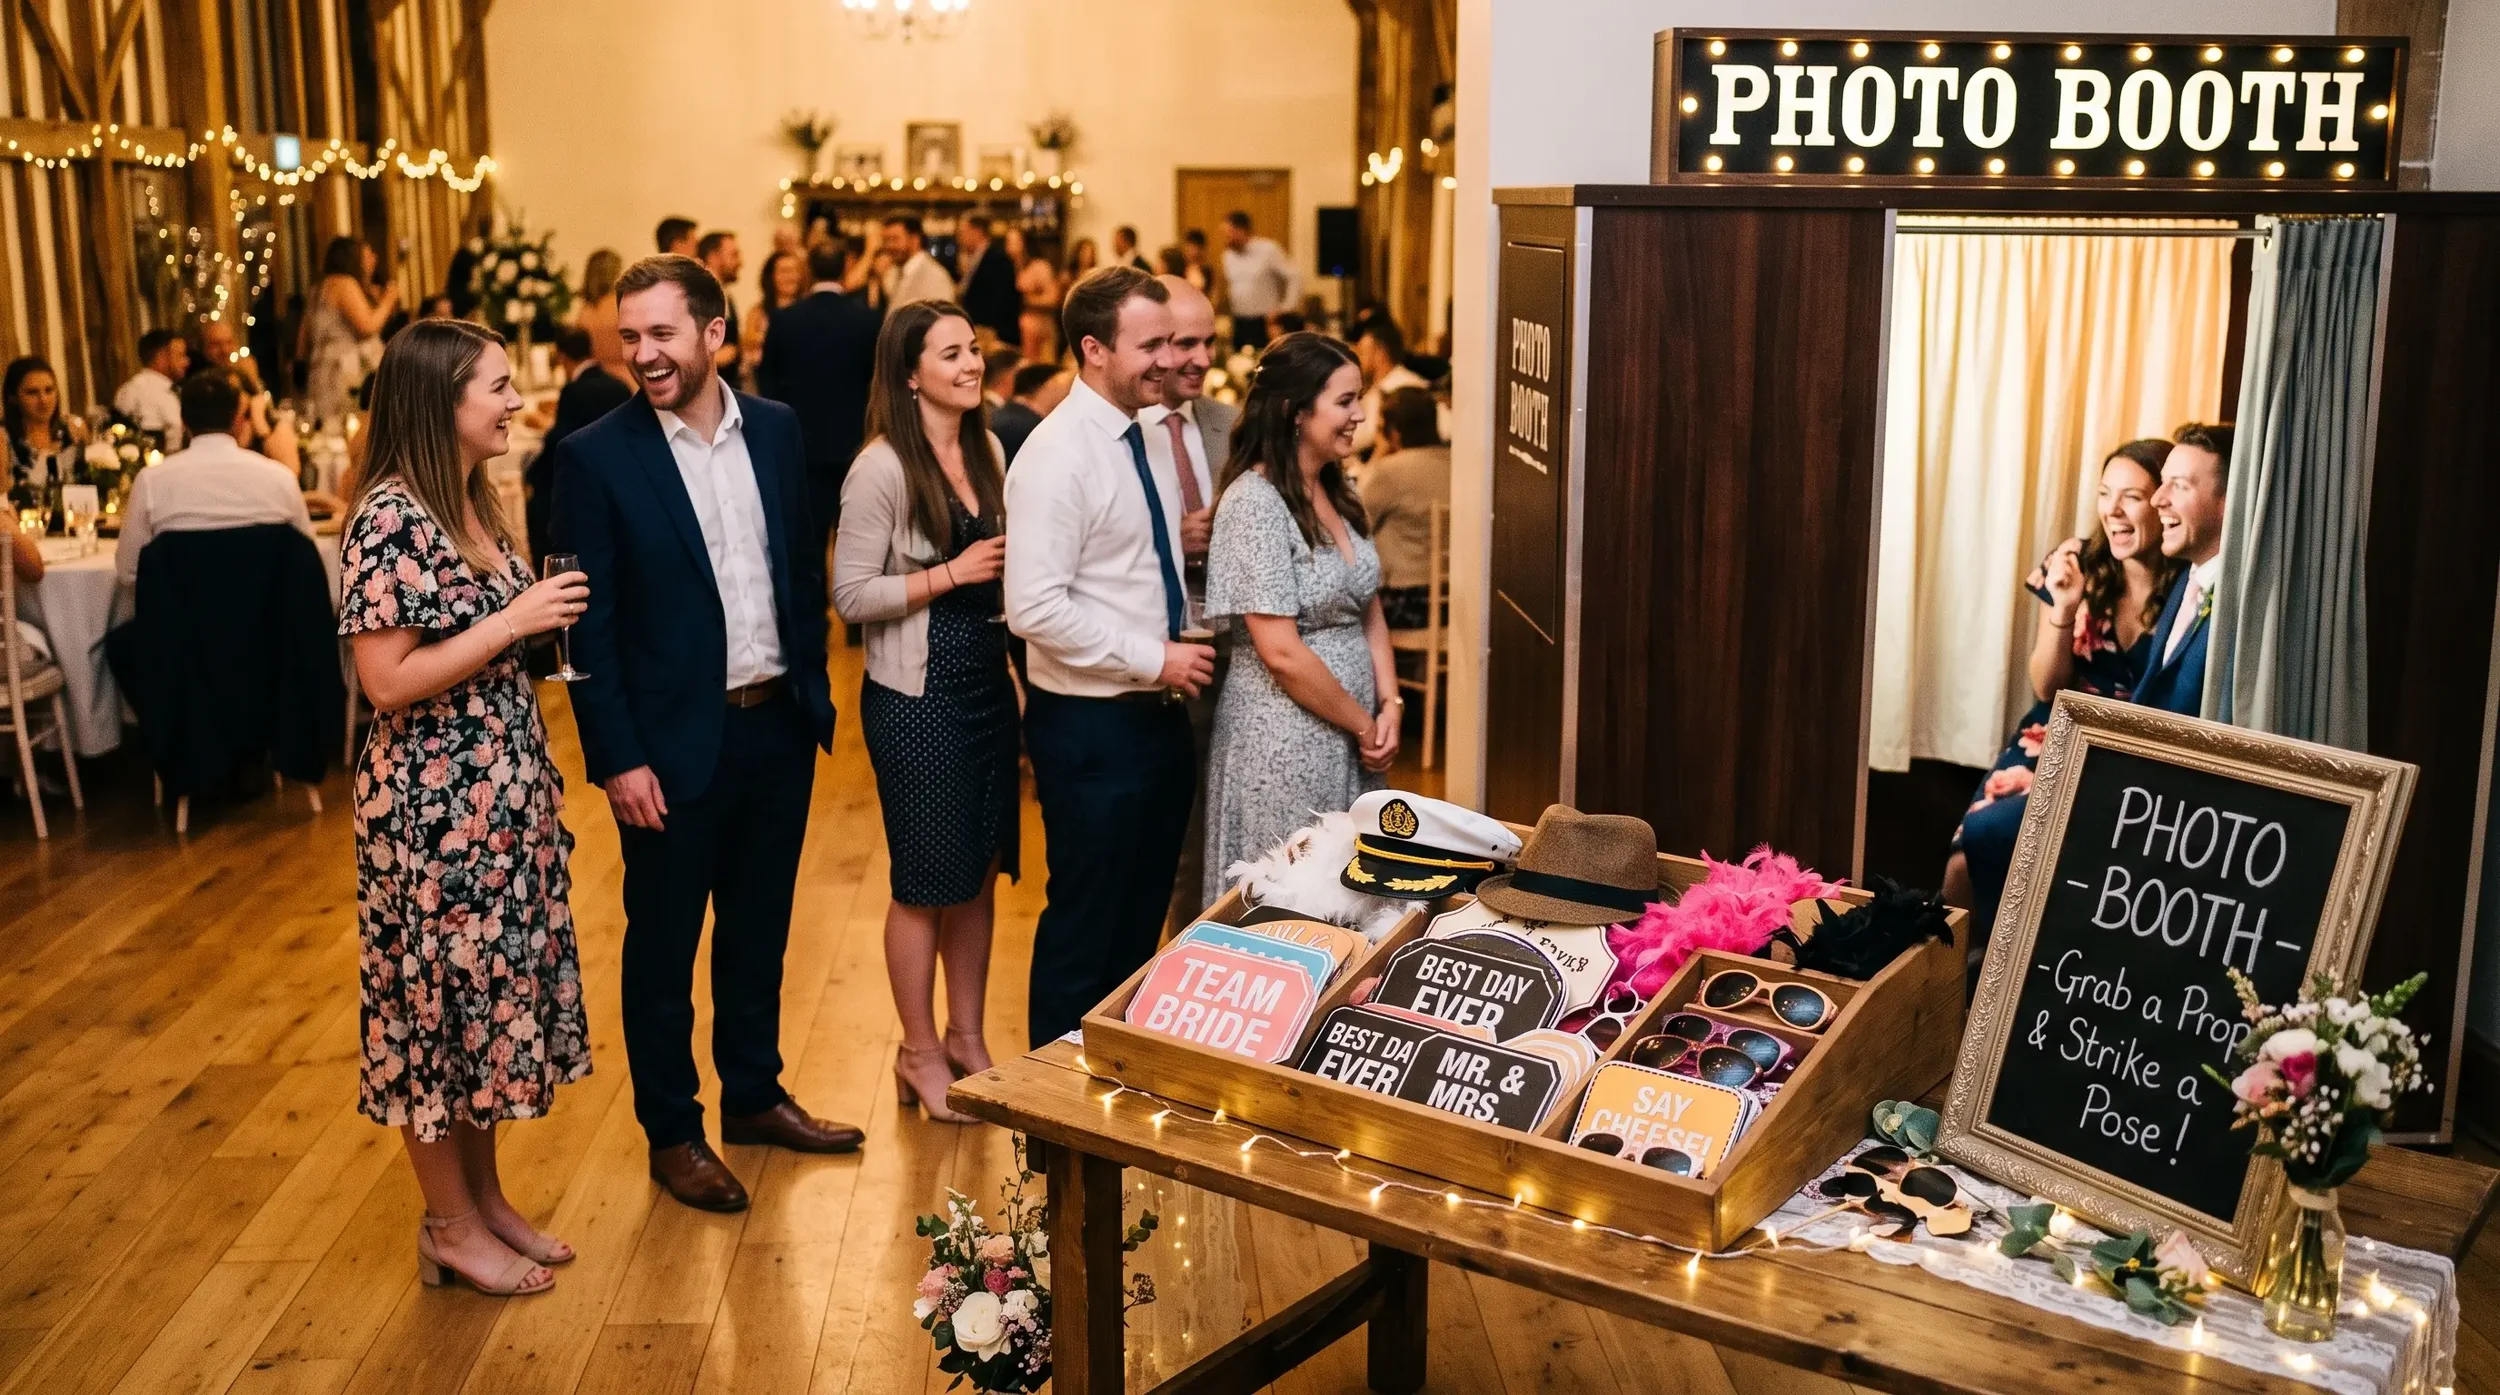
A popular booth creates a line, so the queue belongs on the floor plan from the start. Map five stops in order: guests see the instructions, form their group, choose props, enter the pose area, and review or collect the result before leaving from the other side. That sequence separates people still getting ready from those who've finished.
Keep the whole loop away from doorways, restroom routes, the bar, the dance floor, and catering paths, and make sure the exit doesn't send one group straight into the next. If you offer prints, put pickup on the exit side rather than beside the pose mark.
Rehearse the line instead of trusting a generic hourly capacity. Run several complete mock sessions with the real countdown, retake, sharing, and printing steps, and note the slowest cycle. Let one group wait naturally with jackets, handbags, and props so you can see the space a real line occupies. If even a short line spills into circulation, change its direction, shorten the instructions, move the review point, or add an attendant.
Build Access and Safety Into the Full Footprint
Accessibility is more than leaving a vague bit of extra room. Test whether seated and standing guests can both be framed comfortably without anyone having to work around the equipment. Make the countdown and instructions visible, not just audible, and if some guests can't comfortably reach the screen, plan for an attendant to trigger the session or offer another clear option.
Recheck the narrowest points after the backdrop feet, light stands, weights, prop table, and every cord are in place — no guest should have to step over hardware or loose cables. Route power around the outside of the zone whenever possible, and never across an exit. Ask the venue to approve protection for any unavoidable crossing and to confirm the accessible route, egress, electrical, and anchoring requirements that apply. A taped-down cord isn't automatically safe or accessible.
Use Signs and Props as Traffic Tools
Put your first sign before the queue, where it can tell guests to form a group, choose a prop, and be ready. Keep the instructions at the device to a few readable actions — "Stand on the mark. Look at the screen. Tap to begin." If the experience collects a phone number or email, explain how it's used, and have whoever is responsible for that data approve the wording.
Set props in a shallow tray or on a narrow table at the entry side, not in a deep basket at guests' feet. Test each prop with your largest group and remove anything that hides several faces, catches glare, extends past the backdrop, or could snag clothing. A return point on the exit side keeps finished guests from walking back through the line.
Give the Venue a Zone Plan, Not a Backdrop Size
The plan you share with the venue, planner, decorator, and booth vendor should show the fully opened backdrop and supports, the iPad and light stand, the pose mark, props, queue, exit, outlet, cord route, storage, and the review or pickup area. Confirm the load-in path, doors or elevators, setup and strike windows, attachment restrictions, reception lighting, power, connectivity, egress, accessible route, and an onsite contact.
Save your final measurements, floor marks, app settings, and a reference photo so the zone can be rebuilt exactly if anything moves. Once the spatial plan is locked, complete the wider booth setup and testing process — the equipment, sharing, and optional print checks that apply to your event — before guests arrive.
Your iPad Photo Booth Zone Checklist
Before the event, confirm all five zones:
| Zone | Confirm before the event |
|---|---|
| Camera frame | Your largest expected group fits; heads and raised props do not cover names or signage; the sides and lower edge are clear of hardware and venue seams. |
| Lighting | Faces are evenly lit across a range of skin tones; no glare on glasses, sequins, or metallic props; judged from the saved photo, not the live preview. |
| Guest flow | A one-way loop (see instructions, form group, grab props, pose, collect, exit) kept clear of doors, the bar, the dance floor, and catering paths. |
| Access and safety | Seated and standing guests both frame comfortably; the countdown is visible, not just audible; no cords cross exits or the guest route. |
| Venue plan | A full zone diagram (backdrop, stands, pose mark, props, queue, exit, power, cord route) confirmed with the venue, plus load-in, strike, and power details. |
Frequently Asked Questions
How much space do you need for an iPad photo booth?
Plan for three footprints, not one: the equipment (stand, light, backdrop), a pose area sized to your largest expected group, and a one-way queue and exit. A cramped corner rarely handles a popular booth, so map the full zone — including the line — before you commit to a spot.
What makes a good photo booth backdrop?
One that still works when people fill the frame. Choose a backdrop wide and tall enough for your biggest group, and keep names, dates, and focal details in the area that heads and raised props won't cover.
How do you light an iPad photo booth?
Test the light with real people and fabrics under actual reception conditions. A soft light near the camera axis and slightly above eye level is a good starting point, but judge the saved image — not the room — and adjust the angle and softness until faces are even.
How do you keep a photo booth line moving?
Design a one-way loop with clear stops, run mock sessions to find your slowest cycle, and keep the queue out of the main circulation. Short instructions and an attendant keep a busy booth flowing.
Where should you put a photo booth at a wedding reception?
Somewhere with good light and room for a line — away from doorways, the bar, the dance floor, restrooms, and catering routes, with the exit pointed away from the queue.
Bring It All Together
A photo booth zone is ready when the camera frame works for your largest group and your seated guests, real fabrics pass the lighting test, the equipment footprint stays clear of the guest route, the line stays out of circulation, and the venue has signed off on the full plan. Frame first, light second, then walk the complete guest route.
Boxwood Rose designs the pieces that make a photo booth worth the line — floral and greenery backdrops, statement arches, and custom neon signs shipped nationwide. Get in touch to plan a setup your guests will line up for.